TCI Identification
The following is a guide to determing if a used TCI is appropriate for a given machine:
The following is a guide to determing if a used TCI is appropriate for a given machine:
The Maxim X tank is a little on the small side. So when I had to repair a big dent as part of a restoration project anyway, I thought I'd address the size too.
I didn't want to ruin the classic lines of the X tank, so after much debate, I decided to widen it a few inches, leaving the profile intact. The first step was to layout the planned cut with narrow masking tape. Normally used for things like pinstriping, it follows curves quite nicely.

TRANSMISSION

1. Inspect:
• Shift fork cam follower 1
• Shift fork pawl 2
• Guide bar 3
Scoring/Bends/Wear-> Replace.

RADIATOR PIPES, CARBURETOR JOINT, AND OIL DELIVERY PIPE

1. Install:
• Union bolt with copper washer 1
• Cylinder head side cover 2
Oil Delivery Pipe: 21 Nm (2.1 m-kg, 15 ft-lb)

1. Remove
• Lifters 1
• Valve pads 2
NOTE:
Identify each lifter and pad position very carefully so that it can be reinstalled in its original place.
LOWER CRANKCASE
PISTON AND CAM CHAIN GUIDE

Mark each piston so it can be reinstalled in the appropriate cylinder.
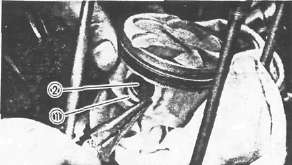
1. Remove:
• Piston pin clips 1
• Piston pins 2
OIL PUMP AND OIL PAN
1 Chain cover
2 Oil pump sprocket
3 Oil pump drive sprocket
4 Oil pump cover
5 Inner rotor
6 Spring
7 Relief valve
8 Shaft
9 Dowel pin
10 Outer rotor
11 Dowel pin
12 O-ring

CRANKSHAFT AND CONNECTING ROD

Crankshaft Runout
1. Place both ends of crankshaft on V-blocks.
2. Rotate Crankshaft
3. Measure the crankshaft runout at main journal bearings. Use a Dial Gauge (90890-03097).
REMOVAL
Middle Drive Gear
NOTE:
Middle drive gear and its shims can be removed without separating the engine.
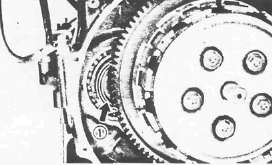
1. Remove the clutch cover. Refer to "ENGINE DISASSEMBLY."
