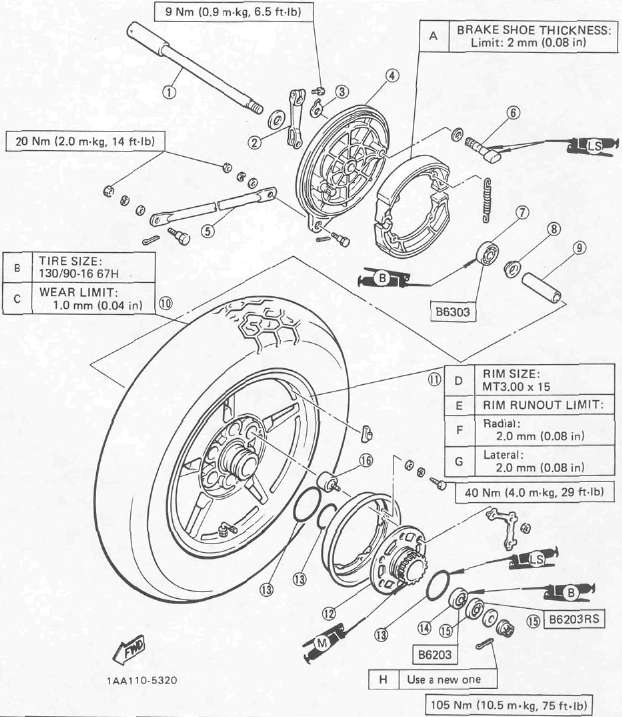
REAR WHEEL
1 Axle
2 Rear brake camshaft lever
3 Wear indicator
4 Brake plate
5 Tension bar
6 Rear brake camshaft
7 Bearing
8 Spacer flange
9 Spacer
10 Tire
11 Wheel
12 Clutch hub
13 O-ring
14 Bearing
15 Bearing
16 Damper
REMOVAL
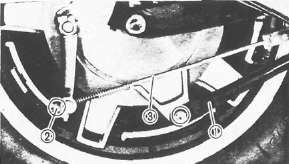
1. Place the motorcycle on its centerstand.
2. Remove:
• Cotter pin
• Axle nut
•Tension bar 1
• Brake rod adjuster 2
• Brake rod 3
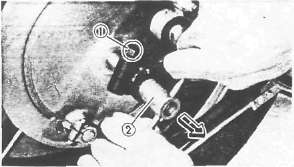
3. Loosen:
• Rear axle pinch bolt 1
4. Remove:
• Rear axle 2
• Rear wheel
Move the wheel towards the right side to separate it from final gear case.
INSPECTION
Brake Shoe
1. Measure the thickness of the brake shoes. Use slide calipers.
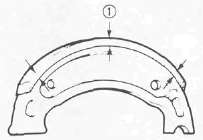
1 Measuring point
Brake Shoe Thickness: 4 mm (0.16 in)
Replacement Limit: 2 mm (0.08 in)
2. Inspect brake shoes. Sand glazed pads with coarse sandpaper.
Brake Drum
1. Inspect brake drum inner surface.
Wipe any oil off brake drum with rag soaked in lacquer thinner, brake parts cleaner or other solvent. Polish any scratches from brake drum lightly and evenly with emery cloth.
Brake Shoe Plate
1. Remove camshaft
2. Inspect cam face. Replace if worn. Grease camshaft before reassembly.
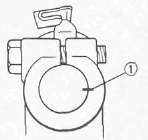
NOTE: .
Place alignment marks 1 on the cam lever and camshaft when assembly.
Rear Axle, Wheel and Wheel Bearing Replacement
Refer to "Front Wheel Inspection".
INSTALLATION
1. Install rear wheel -- Reverse removal steps.
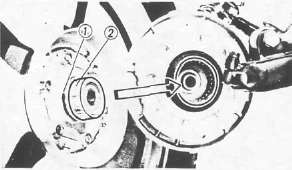
Rear wheel installation points:
• Lightly grease O-ring 1 and hub splines 2.
• Install wheel assembly and axle.
Axle Nut: 105 Nm (10.5 m-kg, 75 ft-lb)
Axle Pinch Bolt: 20 Nm (2.0 m-kg, 14 ft-lb)
Always use a new cotter pin on the axle nut.
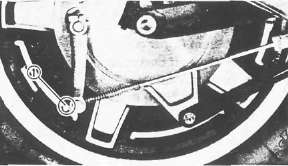
2. Adjust rear brake free play. Turn adjuster 1 as needed.
|
Adjuster |
Rear Brake Free Play |
|
Turn clockwise |
to reduce |
|
Turn counterclockwise |
to increase |
3. Adjust rear brake light switch
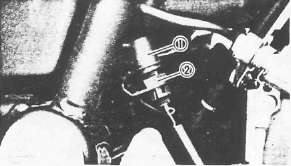
1 Switch body 2 Adjusting nut
- Printer-friendly version
- Log in to post comments

