ENGINE REMOVAL
NOTE: It is not necessary to remove the engine in order to remove the cylinder head, cylinder, or pistons.
Preparation for removal
1. All dirt, mud, dust and foreign material should be thoroughly removed from the exterior of the engine before removal and disassembly. This will help prevent any harmful foreign material from engine oil.
2. Before the engine removal and disassembly, be sure that you have the proper tools and cleaning equipment so that you can perform a clean and efficient job.
3. During disassembly of the engine, clean and place all of the parts in trays in order of disassembly. This will speed up assembly time and help insure correct reinstall-action of all the engine parts.
4. Place the motorcycle on its center stand. Start the engine and allow it to warm up. Stop the engine and drain the engine oil.
5. Remove the left and right side covers, and remove the left and right oil cooler covers.
Fuel tank
1. Turn the fuel cock to "ON".
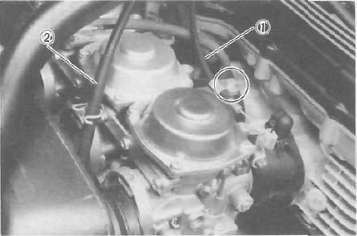
2. Remove the seat and remove the fuel tank securing clamp and retainer. Lift the rear end of the fuel tank and disconnect the fuel pipe and vacuum pipe from the cock.
1. Clip 2. Retainer
3. Disconnect the fuel sender unit lead, and remove the fuel tank.
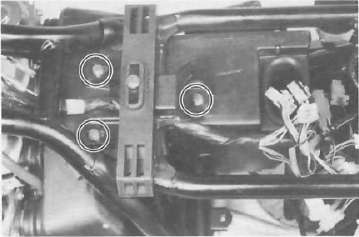
4. Disconnect all connectors from the electrical components holding plate. Remove the electrical components holding plate.
Brake pedal and exhaust pipes
1. Remove the rear brake pedal.
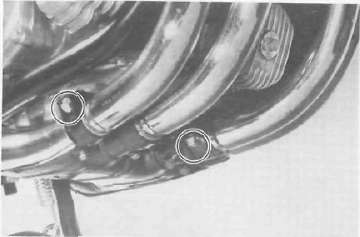
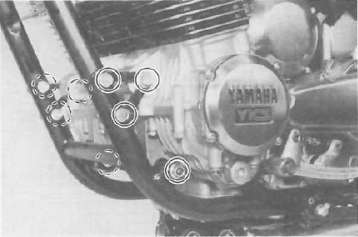
2. Remove the exhaust pipe holding nuts from the cylinder head.
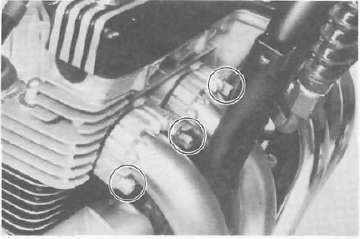
3. Loosen the clamp bolts securing the exhaust pipes to the right and left mufflers. Remove the exhaust pipes.
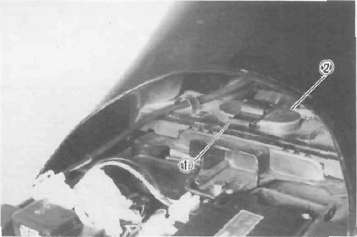
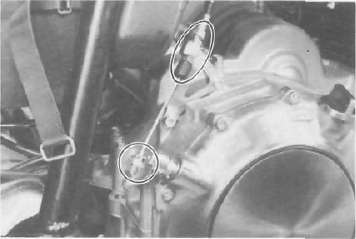
2. Remove the starter motor lead from the starter relay and disconnect the relay leads from the wire harness.
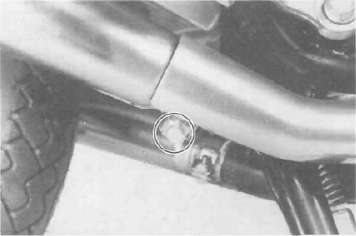
4. Remove the bolts holding the muffler bracket to the crankcase.
Battery case
1. Remove the negative lead from the battery terminal then remove the positive lead. Remove the battery.
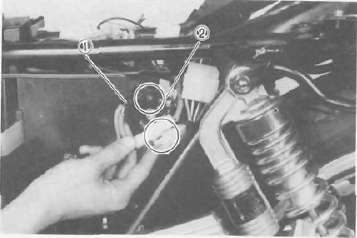
1. Starter motor lead 2. Starter relay
3. Remove the battery case holding bolts and disconnect the rectifier/regulator lead from the wire harness. Then, remove the battery case with the starter relay assembly and rectifier/regulator unit.
Air filter case
1. Remove the clamps holding the carburetors to theair filter case and intake maniholds. Remove the crankcase ventilation hose at the air filter case.
1 Crankcase ventilation hose
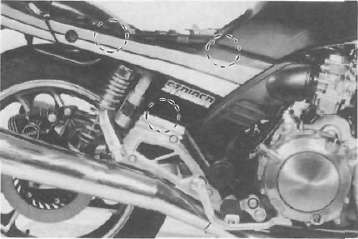
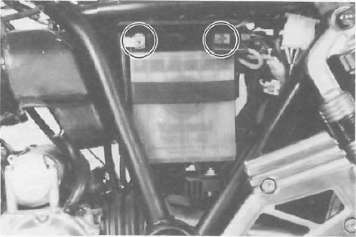
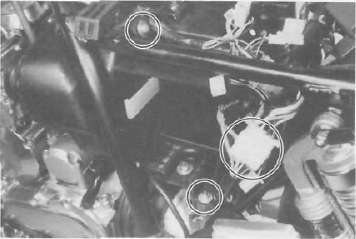
2. Remove the bolts holding the air filter case to the frame (upper)
3. Remove the tool box.
4. Remove the starter (CHOKE) and clutch cables from the carburetor assembly.
1 Starter (CHOKE) cable 2 Clutch cable
5. Pull the carburetor assembly to the rear.
6. Disconnect the throttle cable from the carburetor throttle lever and remove the carburetor assembly to the left.
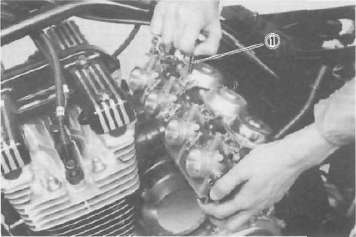
1. Throttle cable
Wiring and cables
1. Disconnect the clutch cable at the crankcase side.
2. Remove the spark plug leads.
3. Disconnect the pick-up coil and A. C. G. lead couplers.
Position the disconnect leads so that they can be safely removed.
CAUTION: The A. C. G. lead, starter motor lead, and pick-up lead are clamped at the cross tube of the frame. Do not forget to remove this clamp before removing the engine.
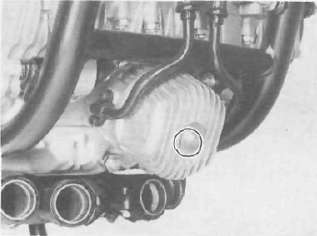
Oil coolers
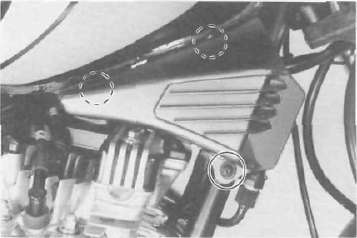
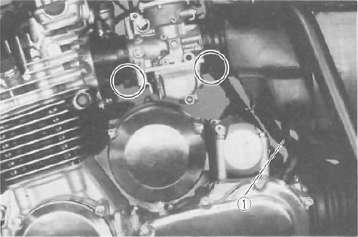
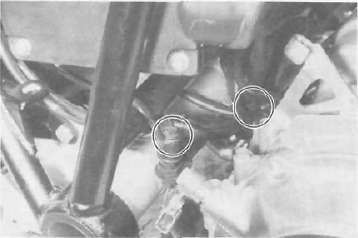
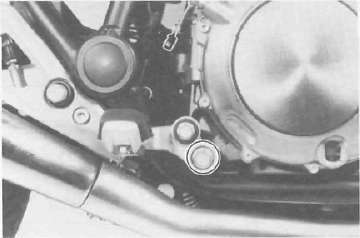
1. Remove the oil filter cover from the crankcase.
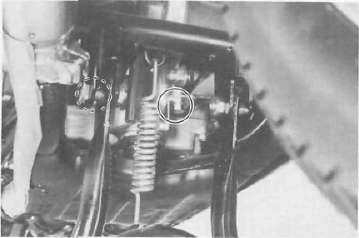
2. Remove the oil cooler spacer holding bolt and remove the spacer.
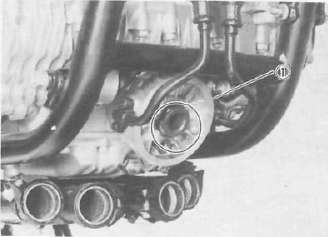
1. Oil cooler spacer
3. Remove the oil cooler hose bracket holding nut.
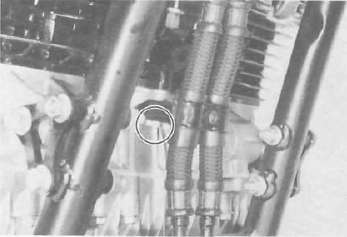
4. Remove the oil cooler holding bolts and clamp. Remove the oil cooler assembly.
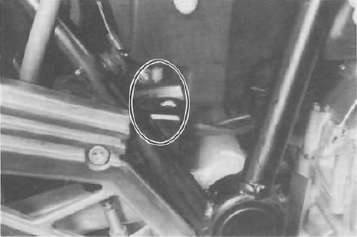
Drive shaft joint
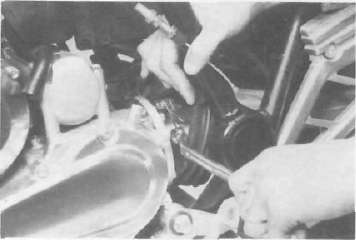
1. Remove the coil spring holding the rubber boot.
2. Pull the rubber boot from the drive shaft coupling to expose the joint bolts.
3. Remove the joint bolts on the drive shaft coupling.
Engine removal
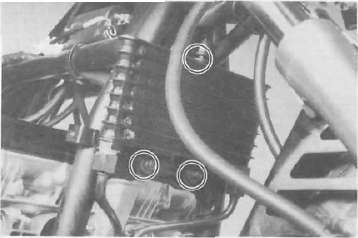
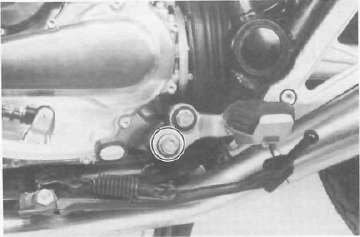
1. Remove the front engine mounting bolts and nuts. Remove the brackets.
2. Remove the rear engine mounting bolts and right and left footrests.
3. Remove the muffler securing bolts and remove the mufflers.
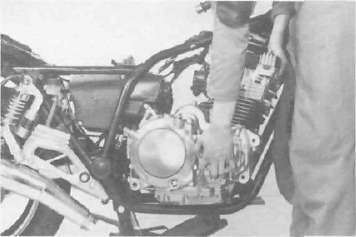
4. Slide the engine forward slightly and remove the engine to the right
NOTE: Position a box or other support to the right side of the motorcycle for the assistance when removing the engine.
- Printer-friendly version
- Log in to post comments