C. Piston
1. Mark each piston to aid in reassembly.
2. Place a clean towel or rag into the crank-case to keep circlips and material from falling into the engine.
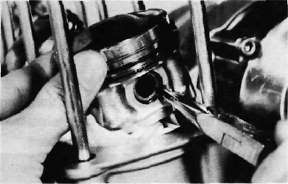
3. Remove piston pin clips, piston pins, and pistons.
D. Pick-up Coil Assembly
1. Remove the alien bolt that holds the timing plate.
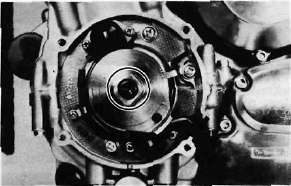
2. Remove the pick-up coil securing screws and remove the pick-up coil assembly.
E. Shifter
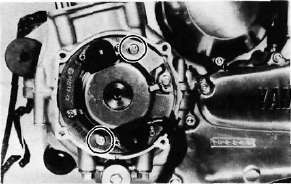
1. Remove the change pedal.
2. Remove the left crankcase cover.
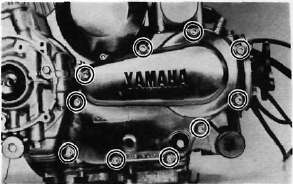
3. Remove the shift lever assembly and shift shaft assembly.
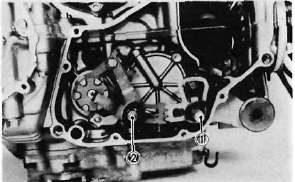
1. Shift lever assembly 2. Shift shaft assembly
4. Remove the middle gear case oil level maintaining plug.
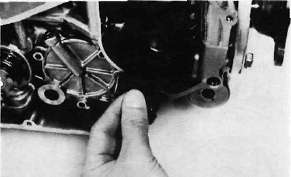
F. Starter Motor and Generator
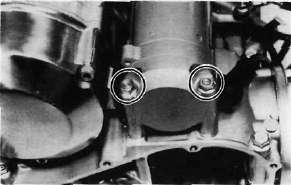
1. Remove the starter motor securing bolts and remove the motor assembly.
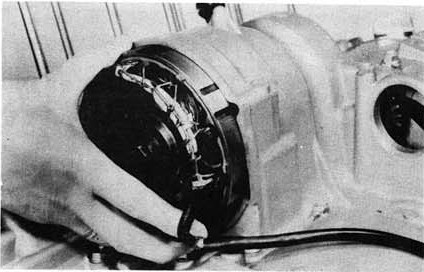
2. Remove the generator cover and stator coil assembly.

3. Install the rotor holding tool (special tool) on the rotor as shown and remove the rotor holding bolt.
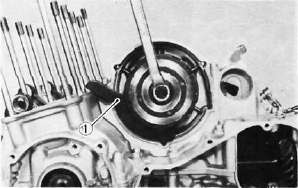
1. Rotor holding tool
4. Invert the holding tool as shown and insert the rotor puller adapter (special tool) into the rotor shaft and screw in the rotor puller (special tool). Remove the rotor.

1. Rotor puller adapter
G. Clutch
1. Remove right crankcase cover.
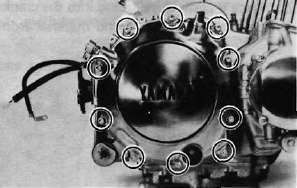
2. Release the tension evenly on the 6 mm bolts and remove the clutch pressure plate and clutch springs.
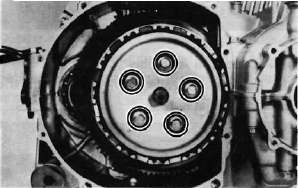
3. Remove the friction plates and clutch plates.
4. Straighten the lock washer tab. Use the clutch boss holder (special tool) to hold the clutch boss and remove the lock nut and lock washer.
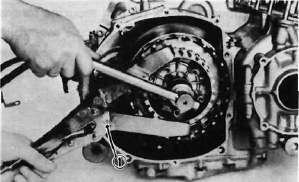
1. Clutch boss holder
5. Remove the clutch boss and spacer.

6. Screw in a suitable length of 6 mm bolt into the one of the threaded holes on the collar and pull out the collar and needle bearing from the primary driven gear.
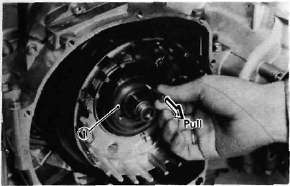
1. Collar
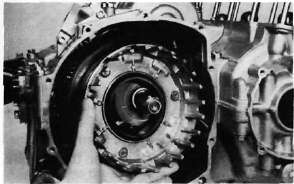
7. Remove the primary driven gear assembly and oil pump drive sprocket.
- Printer-friendly version
- Log in to post comments
