550RK (Seca/Euro)

Valve, Guide and Seat

Submitted by xjcdadmin on Mon, 05/17/2010 - 12:04

Valve, valve guide, and valve seat

1. Check the valve face and the stem end for wear. If the valve face and/or the stem end are pitted or worn, regrind the valve with a valve refacer. Replace the valve if any dimension exceeds the specifications in the illustration.

Intake/Exhaust valve

Cylinder head and Cylinder

Submitted by xjcdadmin on Mon, 05/17/2010 - 12:02

Cylinder head cover

Place head cover on a surface plate. There should be no warpage. Correct by re-surfacing as follows:

Place #400 or #600 grit wet sandpaper on surface plate and re-surface head cover using a figure-eight sanding pattern. Rotate head cover several times to avoid removing too much material from one side.

Crankcase

Submitted by xjcdadmin on Mon, 05/17/2010 - 11:01

Crankcase disassembly

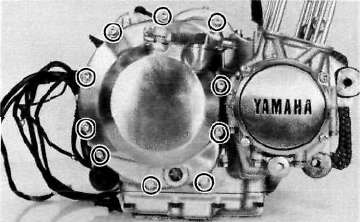
1.    Remove the right-front crankcase cover.

2.    Remove the upper crankcase bolts, starting the highest numbered bolt.

Turn over the engine and remove the lower crankcase bolts.

CRANKCASE TIGHTENING SEQUENCE

LOWERCASE

Clutch and Oil Pump

Submitted by xjcdadmin on Mon, 05/17/2010 - 10:59

Clutch

1. Remove right crankcase cover.

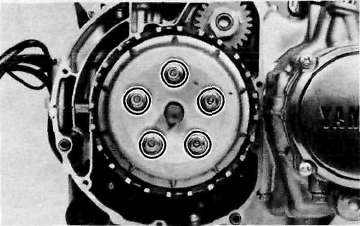
2. Release the tension evenly on the 6 mm bolts and remove the clutch pressure plate and clutch springs.

3.    Remove the friction plates and clutch plates.

Engine Removal

Submitted by xjcdadmin on Mon, 05/17/2010 - 10:47

ENGINE REMOVAL

NOTE:
It is not necessary to remove the engine in order to remove the cylinder head, cylinder, or pistons.

A. Preparation for removal