PISTON AND CYLINDER
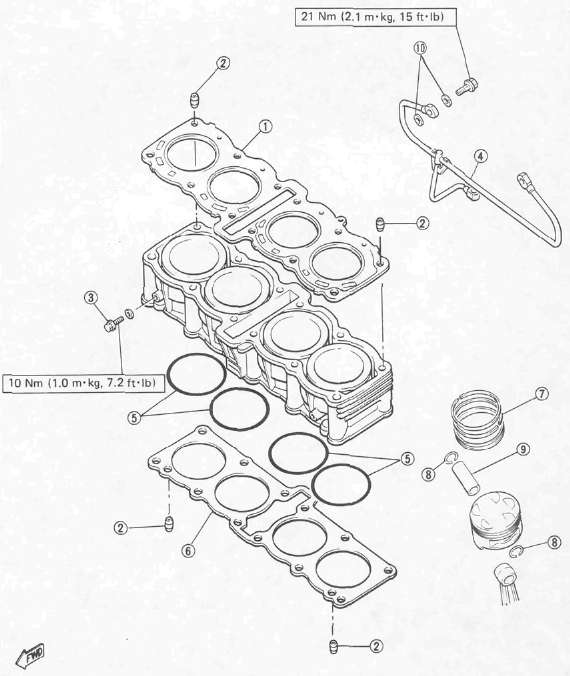
1 Cylinder head gasket
2 Dowel pin
3 Drain bolt
4 Oil delivery pipe
5 O-ring
6 Cylinder base gasket
7 Piston ring
8 Piston pin clip
9 Piston pin
10 Copper washer
1. Install:
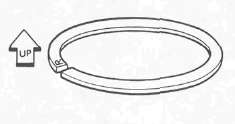
• Piston rings (onto the pistons)

NOTE:
Be sure to install the rings so that Manufacturer's marks or numbers are located on the top side of the rings. Oil the pistons and rings liberally.
2. Install pistons.

NOTE:
• Be sure the piston is positioned correctly.
• Always install new piston pin clips 1
• The "EX" mark 2 on the piston should face toward the front (Exhaust side).
3. Oil liberally:
• Pistons
• Rings
• Cylinders

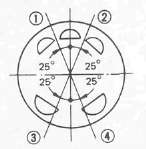
4. Set piston ring ends as per the above diagram.
CAUTION:
Make sure the ends of the oil ring expanders do not overlap.
1 TOP
2 OIL RING (LOWER RAIL)
3 OIL RING (UPPER RAIL)
4 2ND

5. Install:
• Cam chain guide (Rear) 1
Cam Chain Guide (Rear): 10 Nm (1.0m-kg, 7.2ft-lb)
6. Check guide movement. Reassemble if the action is not smooth.

7. Install:
• Dowel pins
• Gasket (New)
• Cylinder
CAUTION:
• Be careful not to damage the cam chain guide during installation.
• Pass the cam chain through the cam chain cavity.

8. Position oil delivery pipe 1
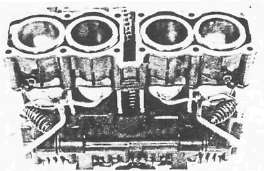
9. Set the dial gauge on the No. 1 piston head center as shown to find the No. 1 piston top dead center and check whether the "T" mark on the timing plate and stationary pointer are aligned or not. If not, loosen the pointer securing screw and adjust.
- Printer-friendly version
- Log in to post comments

