INSPECTION
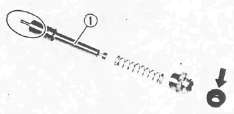
1. Inspect the starter plunger 1 for damage. Replace if damaged or worn.
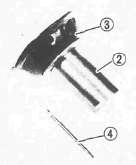
• Vacuum piston 2. Replace if scratched/worn.
•Throttle valve diaphragm 3. Replace if torn or damaged.
•Jet needle 4. Replace if bent or worn.
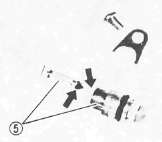
• Needle valve and valve seat 5. Replace if worn.
• Float. Replace if damaged or punctured.
• Carburetor body
• Fuel passage. Clean contaminated or plugged passages.
•Jets. Clean if contaminated or plugged.

• O-rings (Carburetor joint) 6
Wear/Damage -► Replace.
NOTE:
• Wash the carburetor in a petroleum-based solvent. Do not use any caustic carburetor cleaning solutions.
• Blow out all passages and jets with compressed air.
• Do not attempt to push wire through brass jets. If necessary, use a single bristle from a stiff nylon brush.
ASSEMBLY:
1. Assemble the carburetors
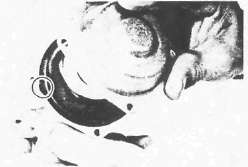
NOTE:
To assemble the carburetors, reverse the disassembly procedures. Pay close attention to the installation of the vacuum piston diaphragm and the location of each jet.
FLOAT HEIGHT ADJUSTMENT
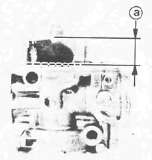
1. Measure float height a
Float height measurement steps:
• Hold the carburetor in an upside down position.
• Incline the carburetor at 60°--70° (so that the end of the float valve does not hang down as a result of float weight).
• Measure the distance from the mating surface of the float chamber (gasket removed) to the too of the float.
NOTE:
The float should be just resting on, but not depressing, the spring loaded inlet needle.
Float Height: 17.5 ± 1.0 mm (0.69 ± 0.04 in)
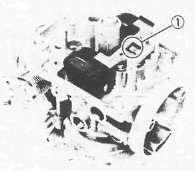
Float height adjustment steps:
• Remove the float.
• Adjust float height by bending the float tang 1 slightly.
• Repeat the procedure for other carburetors.
NOTE:
Float height is an approximation of fuel level. For best results, fine tune fuel level. See Carburetor Adjustments.
- Printer-friendly version
- Log in to post comments
