Lower Crankcase Reassembly
Lower Crankcase Reassembly2. Lower crankcase
a. Install the shift cam and secure it with the guide pin. Install the stopper plate and bolt and tighten securely.
b. Install the neutral switch.
c. Install the transmission drive axle assembly into the crankcase.
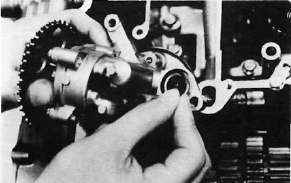
d. Install the 5th wheel gear and bearing onto the drive axle. Install the bearing cover. Be sure the "O-ring" is on the cover.
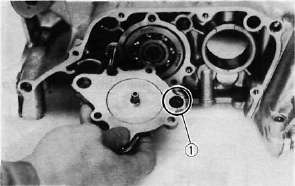
1. O-ring
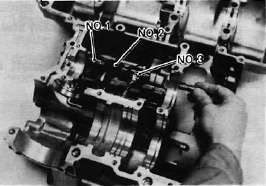
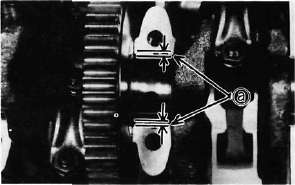
e. Install the shift forks and guide bar. Each shift fork is identified by a number cast on its side. All the numbers should face the left side and numbered 1, 2, and 3 from left.
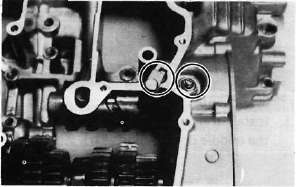
3. Crankcase assembly a. Apply Yamaha bond # 4 sealant or equivalent to the crankcase mating surface. Be very careful not to allow any sealant to come in contact with the oil gallery "O-ring" and crankshaft bearings. It is extremely important, however, that sealant be applied around the case stud holes. Apply sealant to within 2~3 mm (0.08 ~0.12 in) of the bearings.
CAUTION:
Failure to apply sealant here will result in reduced oil pressure and possible crank seizure.
a. 2~3 mm (0.08~0.12 in) Do not apply sealant.
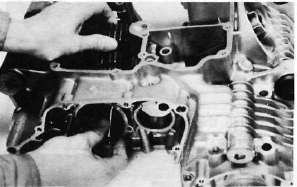
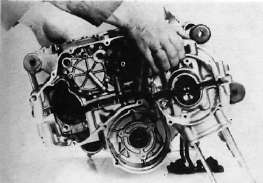
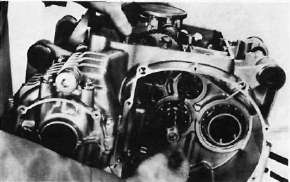
b. The crankcases are assembled by placing the upper case half on the bench and lowering the lower case onto it.
NOTE:-
Be sure that shift fork No. 2 engages the groove in the 2nd pinion gear on the main axle.
CAUTION:
Before installing and torquing the crankcase bolts, check to make sure the transmission is functioning properly by shifting it by hand with the shift cam.
c. Start installation of the crankcase bolts with the center crankshaft area bolts. Place the two bolts without washers in the oil filter area.
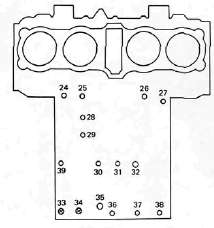
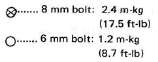
d. The crankcase bolts should be torqued in proper sequence. Refer to the tightening sequence in the illustration.
LOWERCASE

UPPERCASE
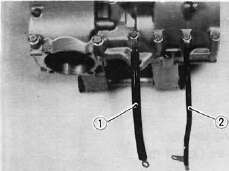
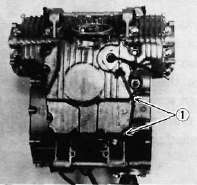
1. Engine ground wire 2. Battery ground wire
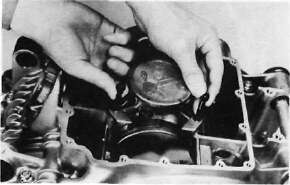
4. Oil pump and strainer cover
a. Place the oil pump drive chain on the transmission main axle.
b. Place the drive chain on the oil pump driven sprocket and install the pump on the crankcase. The "O-ring" should be installed properly.
c. Install the drive chain cover on the oil pump and secure with the 2 shouldered bolts and one normal 6 mm bolt.
Tightening torque: 1.0m-kg(7.2ft-lb)
d. Install the strainer cover and torque the bolts to the specification.
Tightening torque: 1.0m-kg(7.2ft-lb)
1. Wire clamps